

HowTo - Pick Good Tradespeople
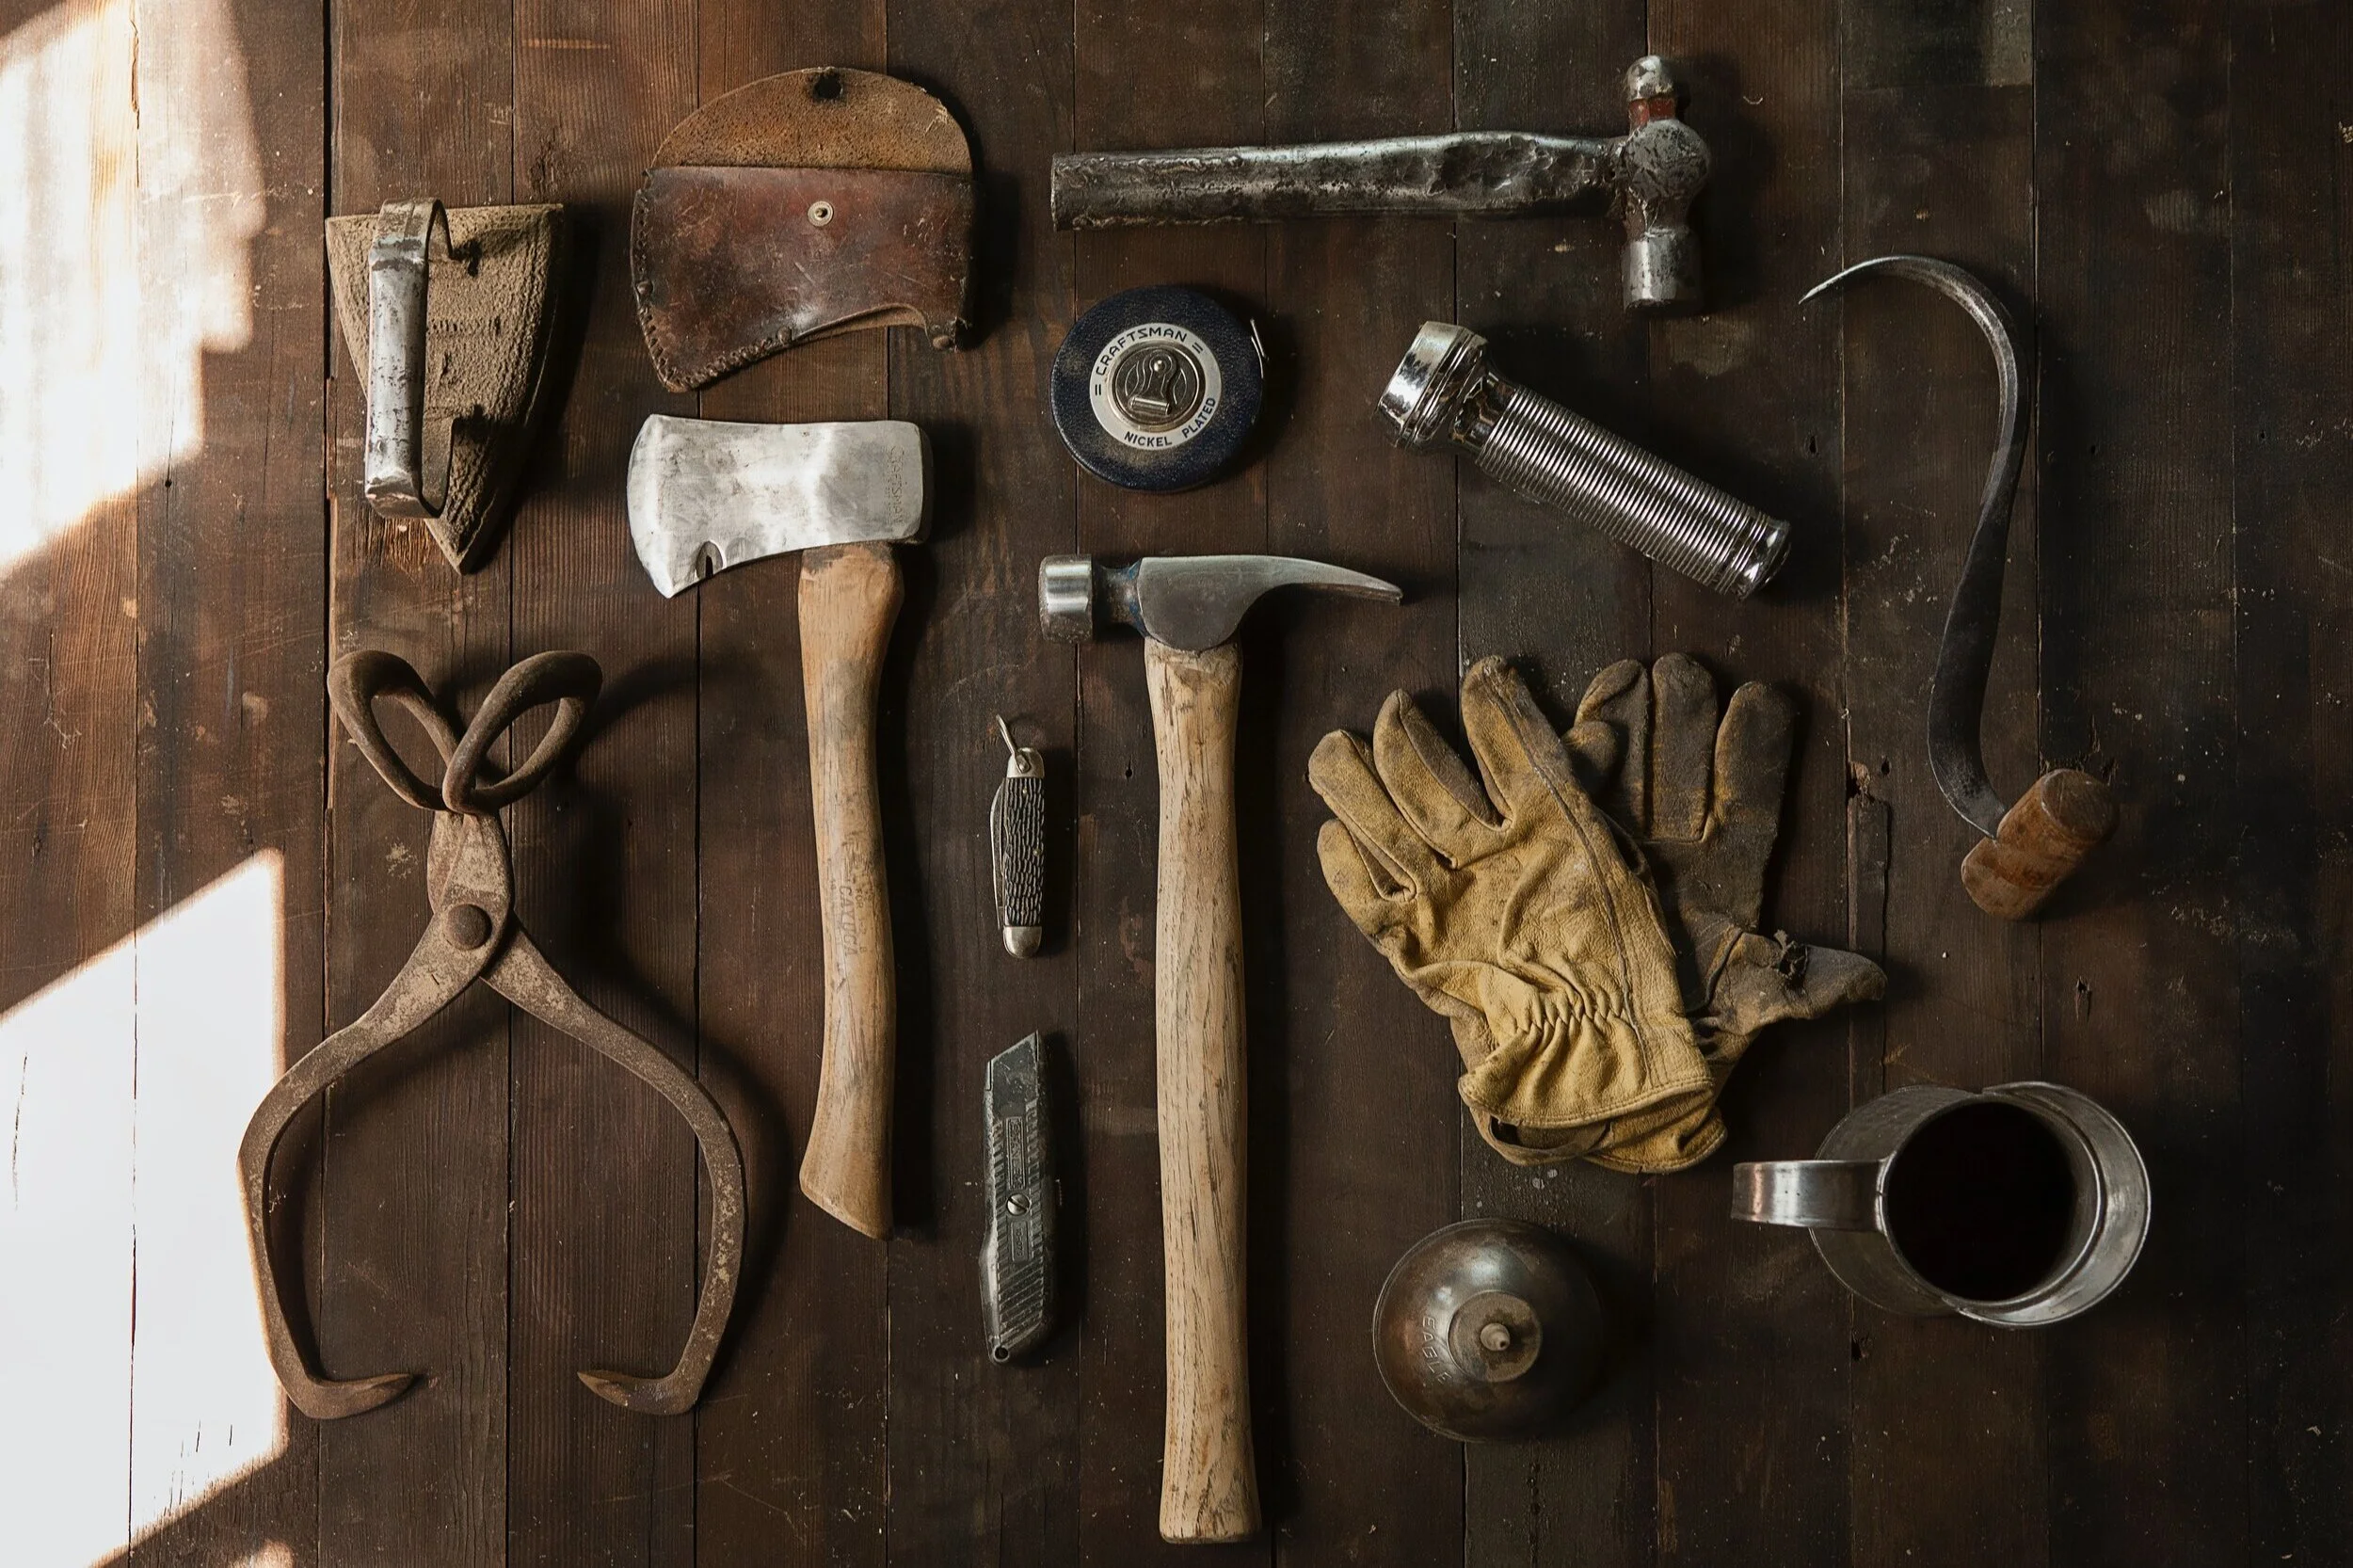
There are a few golden rules when picking your trades, although it’s worth remembering that no amount of playing by the rules guarantees anything. These are just a few top tips to help guide you on your way and give you some confidence in picking the right professionals to get your project completed with as much ease as possible.
Top Tips:
1. Always get 2-3 comparable quotes, and remember to include the VAT.
2. Ask about; personal recommendations and great reviews and provide a solid ground for finding the right professional.
3. Platforms such as checkatrade.com and ratedpeople.com are all good reference points. Check reviews carefully,
4. Make sure you sign a written contract or agreement in order to get the job completed on cost.
5. Make sure the company/individual you employ has adequate insurance and always ask to see their policies/qualification when relevant (i.e. working with gas etc.)
6. Finally, NEVER pay fully up front! Agree a schedule of payments and project targets from the outset.
Big Don’ts
1. Don’t pay up front!
2. Don’t accept the first person through the door.
3. Don’t employ trades that come knocking on your door and push their services. Reputable tradesmen will not cold call.
4. Don’t sign contracts or pay anything without seeing their insurance/accredited documents.
5. Don’t trust a tradesman that won’t provide references when asked, or proof of accreditation if required.
HowTo - Photograph Your Space
In our series of Handy HowTo’s this article covers tops tips on how to best photograph your interiors without hiring a professional. Whether it is pre-project photos showing the space at it’s most basic or finished project images capturing the interiors at their best.

Do you often find that you look at a room, say you’re visiting a beautiful hotel, or you’ve just revamped your home, and you’re blown away (or at least pretty chuffed), by the interior you are faced with. So you lift your camera and snap away, only to be rather deflated by how small, unimpressive or totally different in colour the photo of this space looks once held motionlessly in a snapshot?
This is a very common issue, in capturing many aspects of life but one that is particularly problematic when capturing interiors specifically. It’s relevant to estate agency images (you know how often house details can be misconceiving), or when trying to share a piece of great interior design.
Simply, getting good photos that truly capture your interiors is not always as easy as it looks. There is a reason there are professional photographers that specialise in Interiors as it takes a certain skill and specific approach.
Yes of course there is also a lot of emphasis on editing and the pictures you see of beautiful and inspiring interiors in household magazines are all professionally shot (a professional photographer I am most definitely not). However, there are a few tips that don’t involve an expensive camera or photographic education, when applied can seriously improve your interior photography.
These tips aren’t only for capturing finished projects but are highly useful for obtaining the best photos for showing the space to be worked on when kicking off a design project. Whether this is simply for your own records, like a before and after, or you are using our HowtoHome service, and need to provide some images of the space you are wanting designed. The better the images, the more accurate the finished design will be to your individual space and the more impressive the comparison will be.
Top Tips:
Natural light is pivotal. Light bulbs cast bad shadows and the camera does not have the capability to interpret the artificial light for what it is (as our eyes see it).
Overcast days are actually the best for capturing interiors. Woohoo! that’s a relief in the UK.
Straight lines are king. Basically keep your verticals (i.e. door frames etc) vertical and your horizontals exactly that, horizontal.
Use a tripod if you can so that your images are level and not blurred (more important for images of finished projects).
For capturing: ‘Pre-project’ spaces to be designed - de-clutter and keep the area as open as possible, removing as many items you no longer want included in the new design as possible.
For capturing: 'Completed-project’ spaces - staging is key! Remove all items that aren’t purposeful to your overall aesthetic, making sure there are no used cups and plates lying around for example. Remove and out out of sight any hanging or trailing electrical cables etc.
Creating space - this is the second most pivotal aspect of interiors photography and often one of the hardest. Don’t be afraid to move furniture to suit the composition of the photograph. Even if it wouldn’t work in reality it may look better on the image. Take shots from outside of the space in through the door, at that perfect point where the doorframe isn’t in view. This helps give aspect.
Wide angle - if you have access to a wide angle setting on your phone (0.5 setting on the iPhone 11 Pro) or on your camera, then great, but DON’T abuse it! If you push too wide an angle to capture a room you also risk distorting the actual space and presenting an unrealistic snapshot. Keep it mid range and take multiples instead of trying to get a whole room in one image.
Get up close - it’s all in the detail. While it is important to have an overview of the room don’t forget to get close-ups of notable, well designed or aesthetically important details. These images can work wonderfully to show depth of field, especially if you are able to use settings that blur the background and focus on the detail you are wanting to highlight.
On a camera shoot on RAW setting.
Finally, edit, edit, edit - a seemingly dull picture can be effectively edited to brighten, increase exposure and up the contrast. The main aspects to tweak aside the above are; highlights, shadows and noise reduction.
Most mobile phones have fantastic cameras and editing tools, so go forth and experiment!
Let’s be honest most of us are not taking interior magazine quality images, but that’s no reason not to achieve the best results you can with little effort.
Good luck and have fun.

HowTo - Spatial Plan
Our quick and handy Howto guide on spatial plan, helping you to make the most of your room and guide you with furnishing. Part of LitterArty x HowtoHome’s handy HowTo series.

It can be daunting sometimes working out how and where to fit and position furniture in any given space. While there is some level of subjectivity based on personal comfort and requirements, there are a few handy rules to help you establish suitability of furniture and not end up in a situation where things don’t fit or the space isn’t accessible.
How to ensure you have enough free space?
A general rule of thumb is to allow approximately 50cm (minimum) of space from one piece of furniture to the next. There are of course exceptions to this rule such as the distance between a console table and the back of the sofa or next to a bed. In cases where your aim is to have one support the other and be in close contact then obviously this rule does not apply.
In hallways and passing places it’s advisable to up this minimum and allow at least 80-90cm of space so that the area doesn’t feel cramped and walking past objects and items of furniture is a challenge.
Top Tips:
- Consider where fixed obstacles positioned, such as doors, windows, radiators and fireplaces. You need to allow space around and plan furnishings that will fit around these features and balance out the space.
- Think about volume and don’t over fill a space.
- Ergonomics - ensure that there is a circulation passageway through a room. This follows an easy pathway from the door to all the other main areas of activity.
- Edit your clutter, clutter brings in spaces and creates a sense of chaos. By minimising clutter you optimise your space, yes it’s common sense.
Questions to ask:
1) What, is the space used for, what are its functions?
2) Who, uses it? How many people does it need to accommodate etc.
3) How, do you want the room to feel? Spacious, airy, cosy, minimal….
4) Are there focal points? Or do you need to create focal points?
Another question we are regularly asked is; What is the optimal distance between a TV and your seating? Again, a general rule of thumb is to base this on the size of your TV, take that measurement and times it by 1.5 to 2.5 to gauge your most comfortable viewing distance. So for example, a 37 inch TV could be positioned around 6 ft from your sofa for optimal spatial planning. Obviously, this is relative and subjective to personal comfort but it’s not a bad rule to stick by.
HowTo - Measure a Room
Our quick and handy Howto guide on measuring a space. Part of LitterArty x HowtoHome’s handy HowTo series.
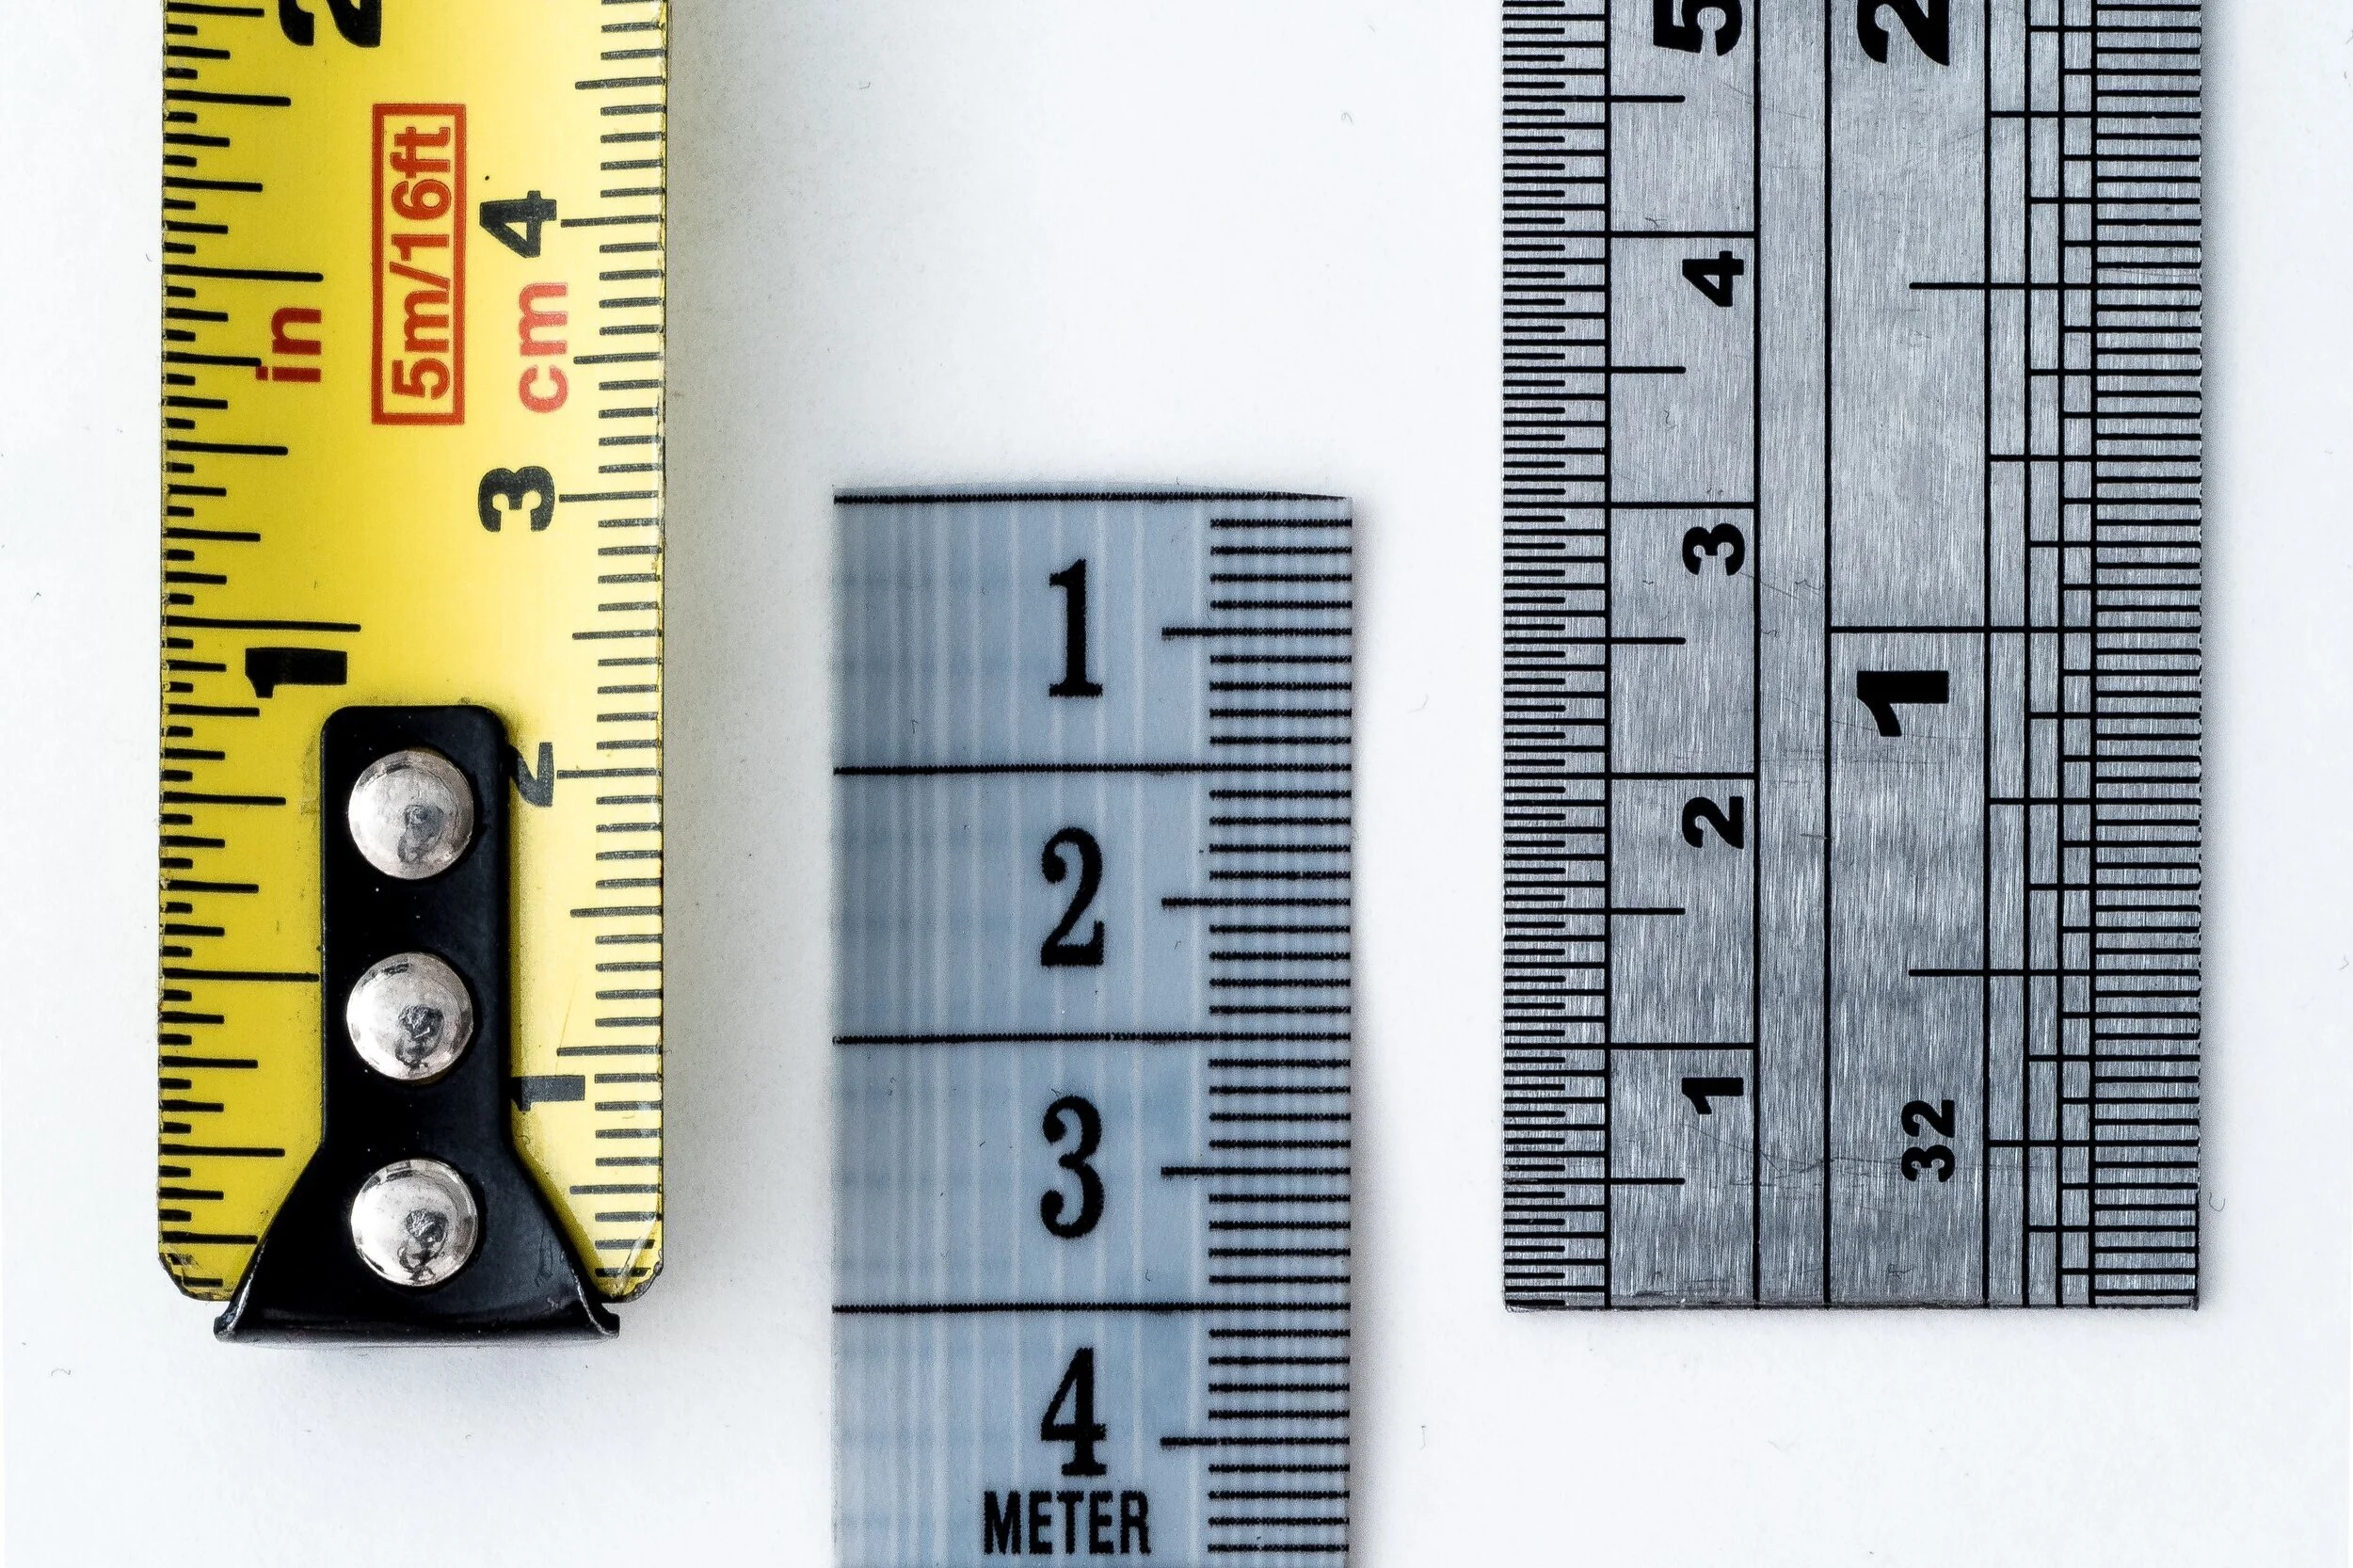
1. Make sure you have a sturdy and decent length tape measure. This simply makes life easier and means you can measure quickly.
2. Have a paper and pen to hand for notes and to quickly sketch out the outline of your room. All you need is the general shape, no need for accuracy as long as it makes sense to you.
3. Mark window and door locations.
4. Start by measuring the width at the longest point of the room, the same with the depth and then the height.
5. Then take at least the same measurements at around 5 points across the room. This helps with accuracy, as most rooms are nor 100% even. 6. Next measure all large elements such as alcoves and other nooks. Do this by following the same principle as above (width, depth and height). Note these measurements in the correct locations on your room outline.
7. Measure all the windows and doors. You want to know the width and height of the opening and then also the height of the window base from the floor. Again mark this on the outline.
8. Make notes of all utility and socket locations i.e. radiators, sockets, aerial points. To measure their exact location, measure from the nearest fixed point (i.e. edge of the wall in a corner) to the middle of the fixture. This is particularly useful for radiator location.
Tips
- When measuring the height of your room, make sure you allow for picture rail and cornice height. This is relevant for walls where you are wanting to feature wither freestanding or built in units such as shelving that require to sit within these parameters. Make notes where relevant.
- Doorway measurements are pivotal for planning furniture as well as the layout design, it’s all well and good picking great furniture but what if the space to get it in to the room is limited?! All these details help.
- Not location of any architectural features that are relevant or limit design decisions.
- Clear detail is key!

HowTo - Hang Pictures
Our quick and handy Howto guide on picture hanging. Part of LitterArty x HowtoHome’s handy HowTo series.
To get you started, here is a check list of tools and equipment you may need to hang pictures securely, safely and successfully.
- Tape Measure
- Pencil and Rubber
- Spirit Level
- Hammer
- Drill (if hanging heavy work that requires a wall plug and screw)
- Picture hooks and nails
- Wall plugs and screws (if required)
- Cord or wire for hanging.
Before you grab the hammer and start attempting to hang your picture, you need to make a few practical decisions, such as, where you want it hung and is the wall structure suitable. You also need to decide how much support you’ll need to hang your picture securely, whether single or multiple hooks etc. Once you’ve established the location and hanging equipment needed follow there are some basic steps to follow for hanging. Whether you are going for a relaxed or a traditional museum approach this is a great base point. All rooms are different and the museum approach may not be appropriate for your décor.
Step 1 – Measure
Take a width measurement of the wall you are hanging your chosen picture on.
Step 2 – Align with the centre of the wall
Find the centre point of the wall by halving the overall width and place a small pencil mark.
Step 3 – Determine the Height
Most people hang pictures too high; you should not have to strain your neck to see them. There is a bit of a science to picture hanging. That said, this is where your subjective style comes in, whether following the museum approach or not.
Relaxed approach
If you're confident with your artistic abilities, use your eye to judge where to hang your painting. This will allow you to balance your furniture, doors and windows. Just makes sure it's at a comfortable eye level. If not follow the next step:
Technical/Museum approach – a simple equation
1) Measure 145cm from the floor this is the ‘ideal’ middle point of your picture.
2) Measure your picture and half it, this is the centre point. This is A.
3) Measure the tension depth from the top edge – pull the picture cord/wire to full tension as it will be when hanging. This is B.
4) Find the height by doing this simple equation – 145 + A – B = Height to position your nail.
Handy tips
- A lot of plastered walls, particularly in older properties can crumble when a nail is hammered in. To protect your surface from damage or marks place a small piece of masking tape over the point for hanging. This will help to protect the nail point from causing damage.
- If your frame is heavy or slightly rough on the reverse place some small sticky felt pads on the reverse bottom two corners just away from the edge. This will pad and protect from rubbing or movement works on the wall.
- Use a spirit level to double check how level your picture is by placing it on the top and then the bottom of the frame, adjust accordingly.
- 5-7cm between frames is a great rule to apply.
Hanging a Picture Wall or Cluster
Follow the same three steps, measure, find the middle width and determine height, then add the following step:
Additional Step 1 – Line up the centre, making the centre of the cluster/picture wall sit along the 145cm centralised mark.
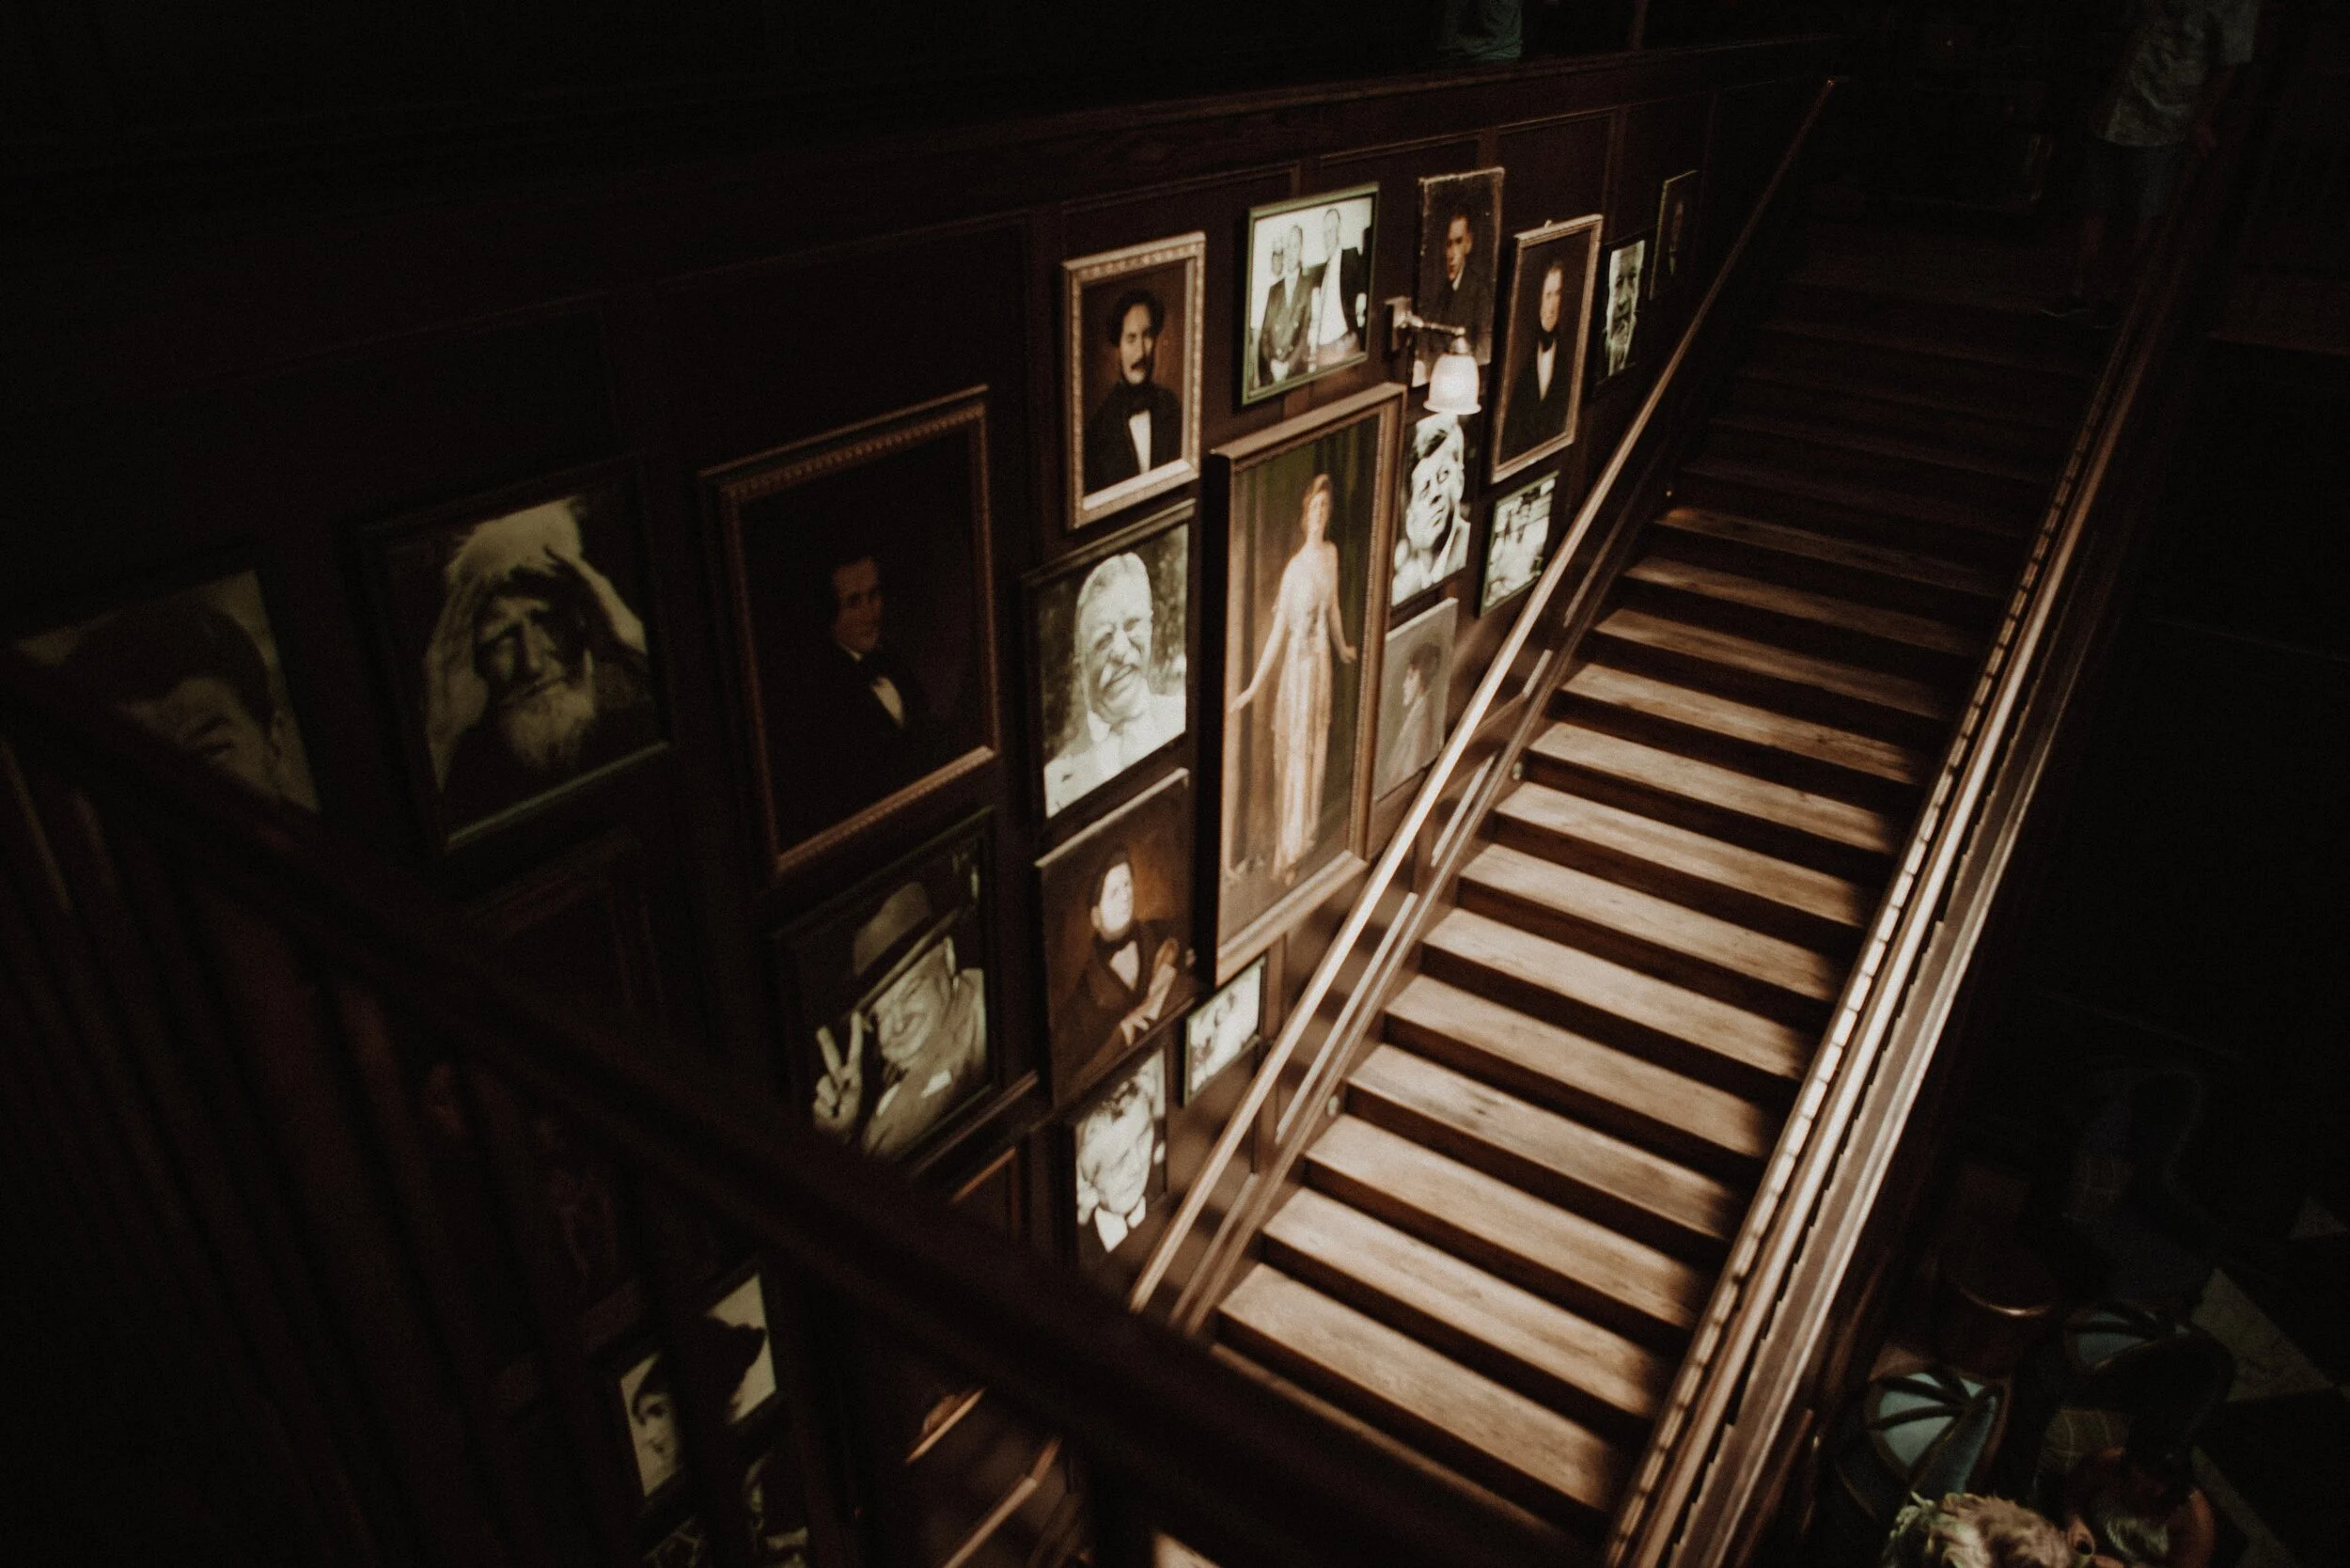
Hanging Pictures on the Stairs
Dependant on your desired overall look, you can plan this intuitively or structured. If going down the structured route add the following step:
Additional Step 1 – measure 145cm from the floor, this should be the centre of your first picture.
Additional Step 2 – measure 145cm from every second to third step to form a diagonal line. This line should be the centre of each picture and then use the size of your frames to position each picture at an equal distance to space out most effectively.
Hanging a Scattered Display
Choose a piece as a central focal point. This will form the middle of your cluster. Then follow these steps:
Step 1 – Measure up your 145cm point to find the middle point of your central picture.
Step 2 – Build your gallery from the middle out, making sure you balance your pictures as you go. Always ensuring the central line stays at 145cm.
This process is very subjective to what you see as ‘balanced’ so go with what suits you and suits the pictures and artwork you love and are wanting to hang.